
I prefer to use Con-Tact Clear Covering that I buy at Target. I have tried other brands, but this brand is the easiest to work with. Some brands are difficult to peel off the backing and crease easily. This one is nice and thick, not like the other brands I have used. The finish on this one is a bit opaque, but that doesn't bother me. Knowing that my books are safe while in the students' hands is more important.
These National Geographic Kids nonfiction books really need to be covered. They are flimsy and easily ruined when students keep them in their desks. The first thing you will need to do lay your book on top of it the Con-Tact paper, writing side down. Use your book as a template and mark off where you will cut. (When I'm in a hurry, I skip that step and just cut. If you want straight sides, use a ruler and draw a line!) The paper backing has grid lines which makes it very easy to cut. I could have brought the book down more on this one, and there would be less wasted film. You can fit two chapter book sized books going in the opposite direction of this book, but these are a little longer than a chapter book. I wasted less Con-Tact paper by laying my book this way. (Forgive me of the picture quality of these pics!).
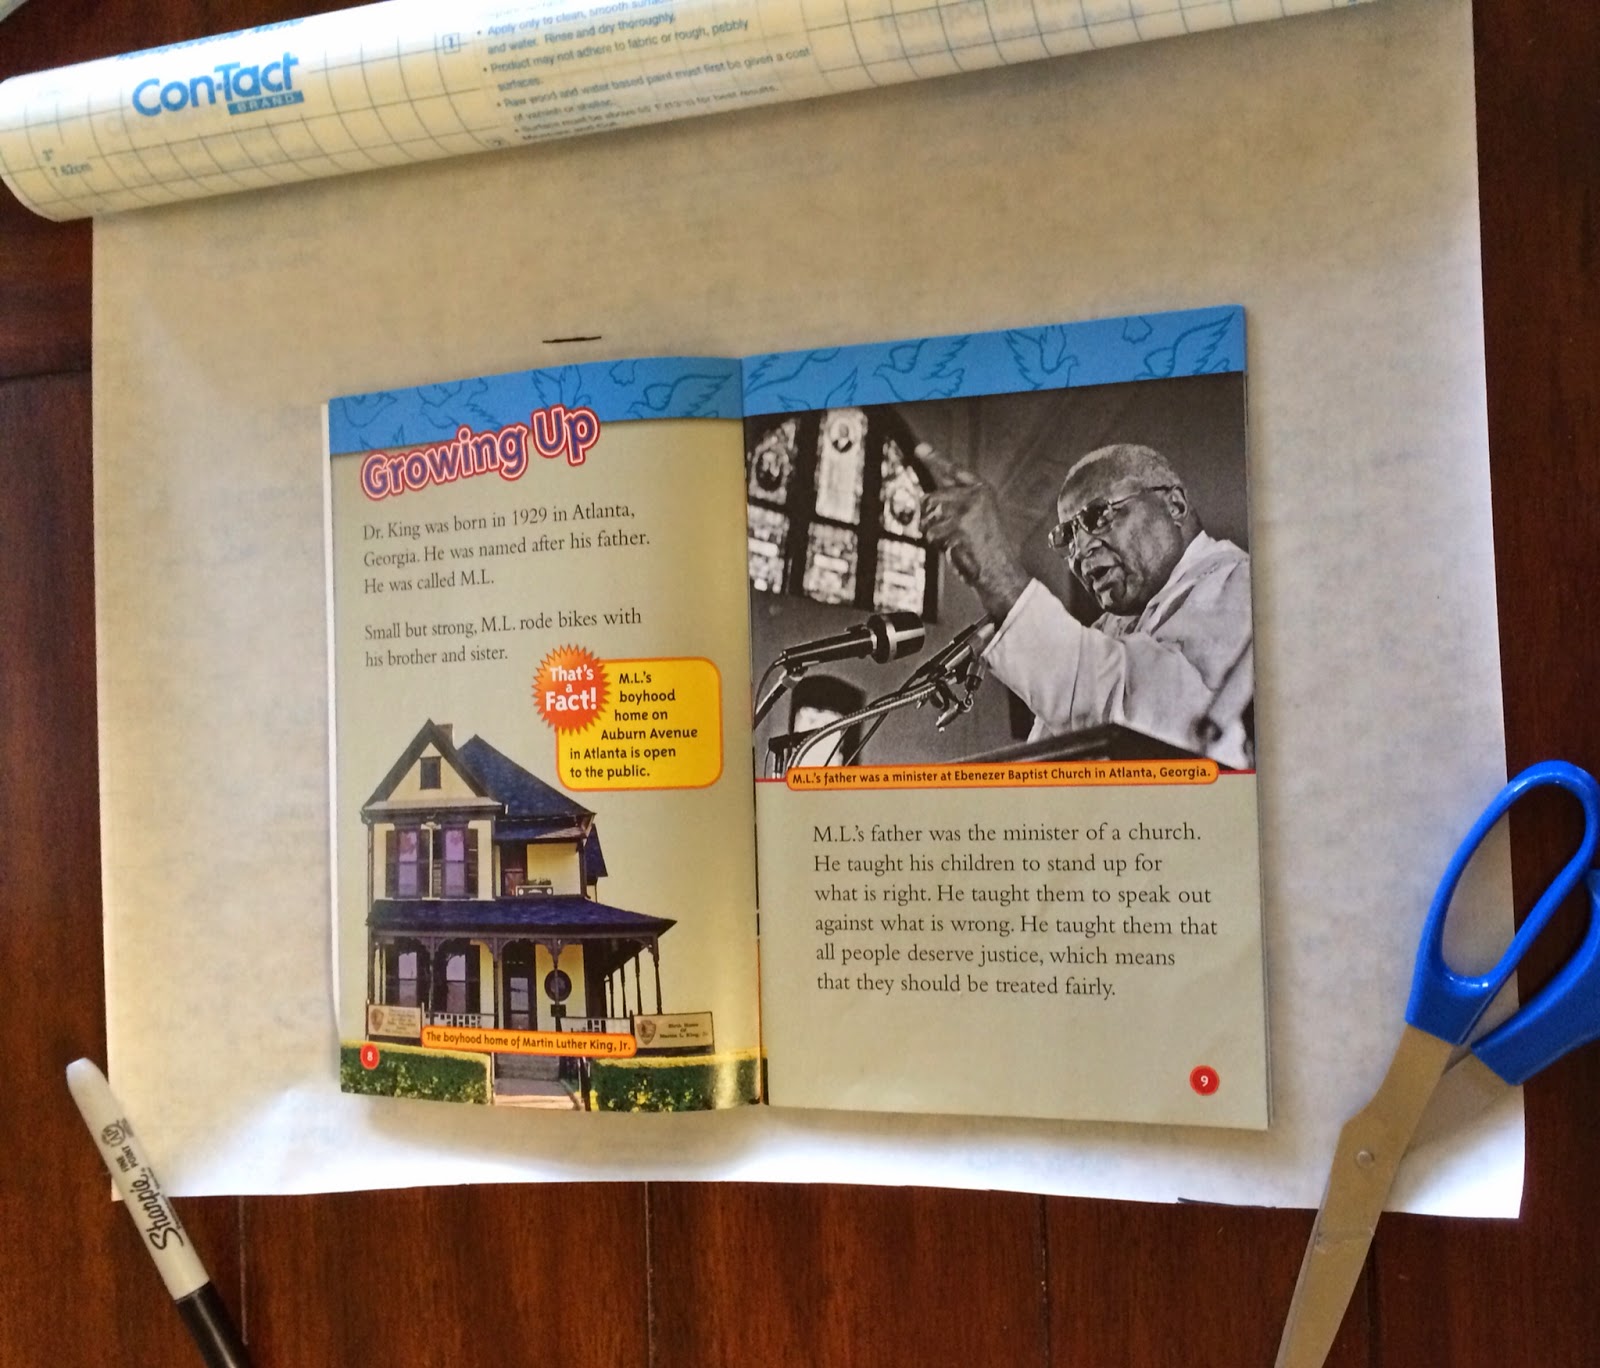
Peel off the backing and lay the book face down on top of the film, sticky side up. Leave a margin of film on the side. I lay the book on the left side and smooth out the film as I go, pressing to get all of the air bubbles out. I start at one end and lay it down, kind of rolling it toward the spine onto the film. Just practice with this part. This film is pretty easy to work with.
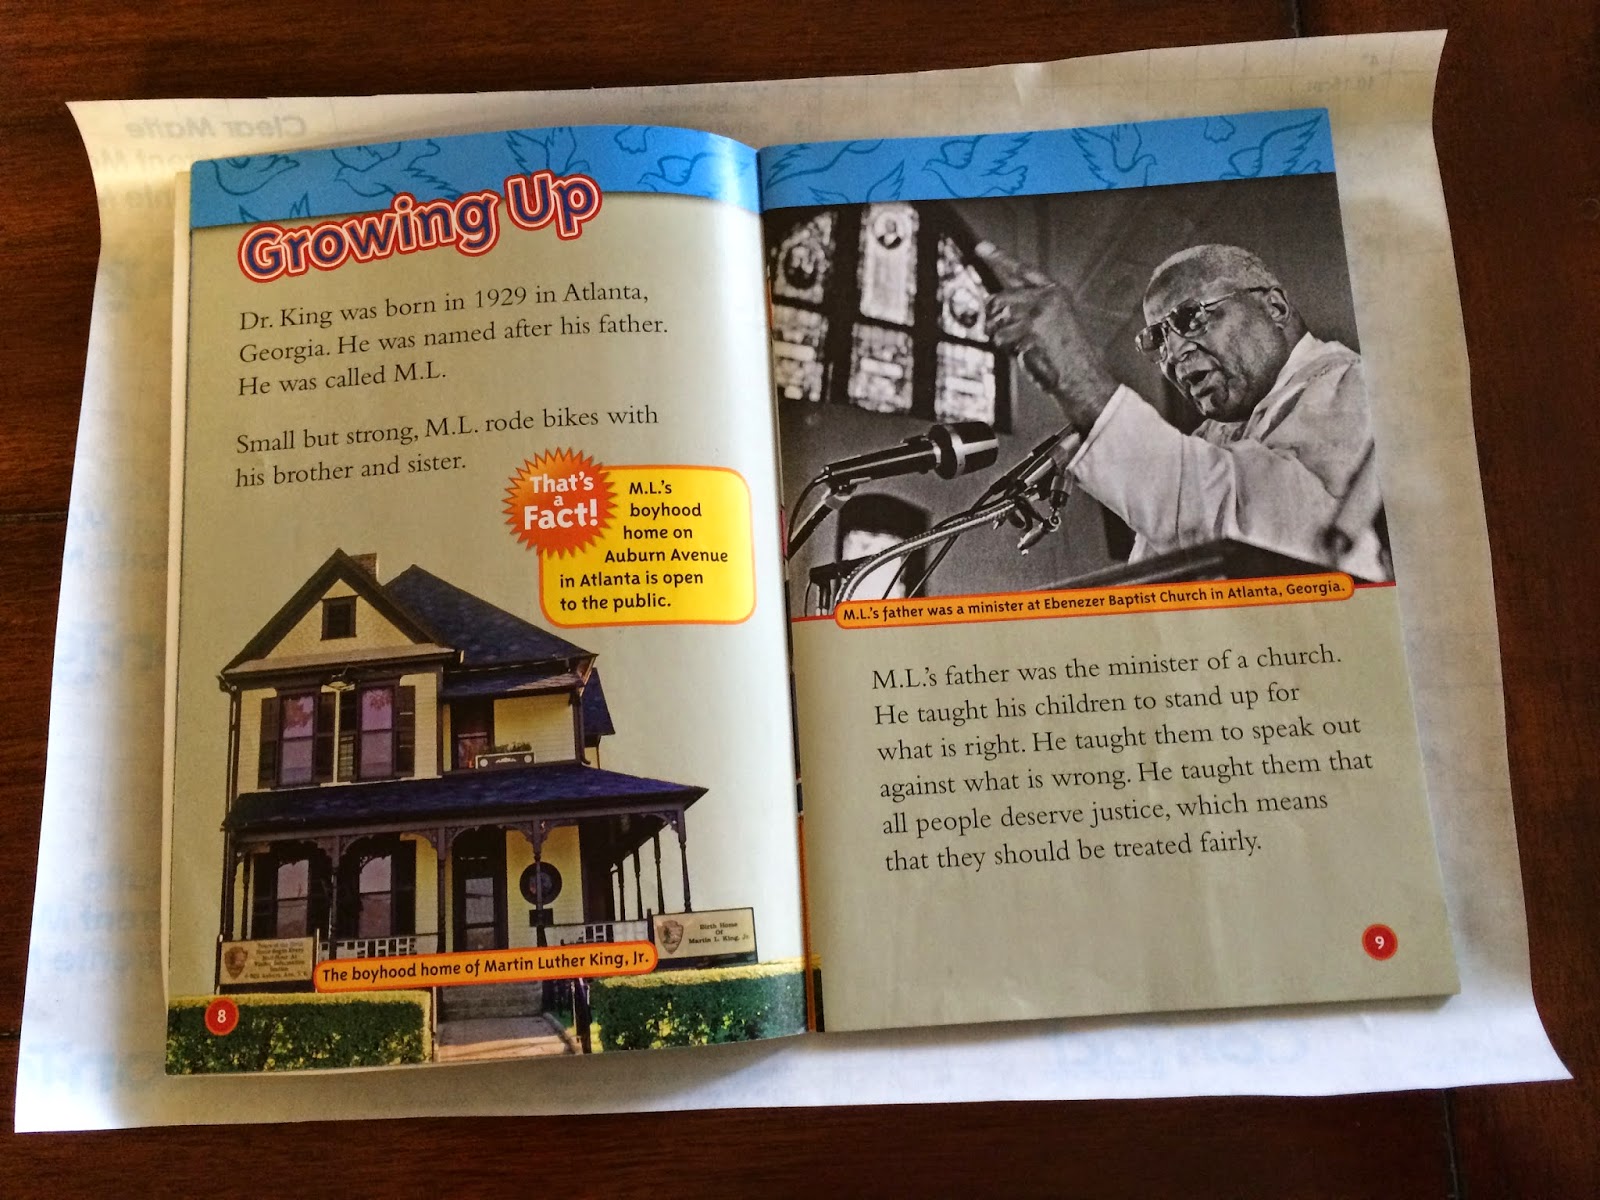
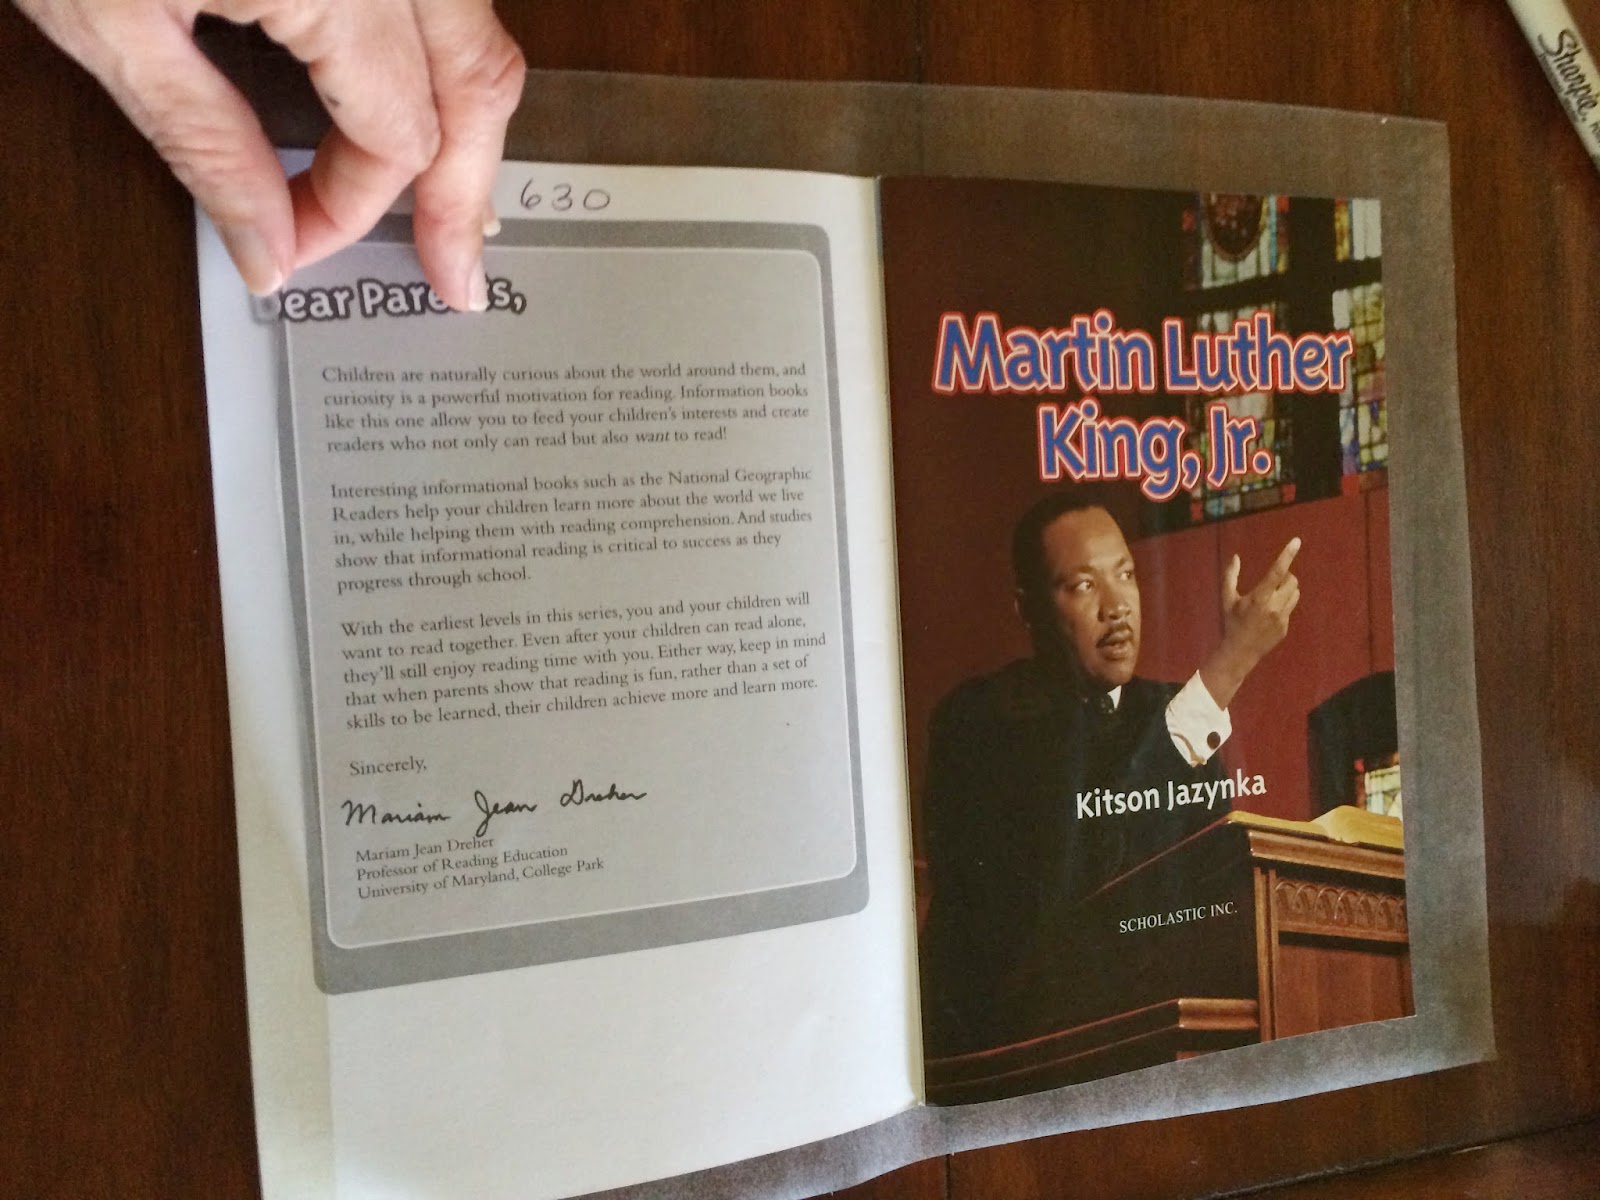
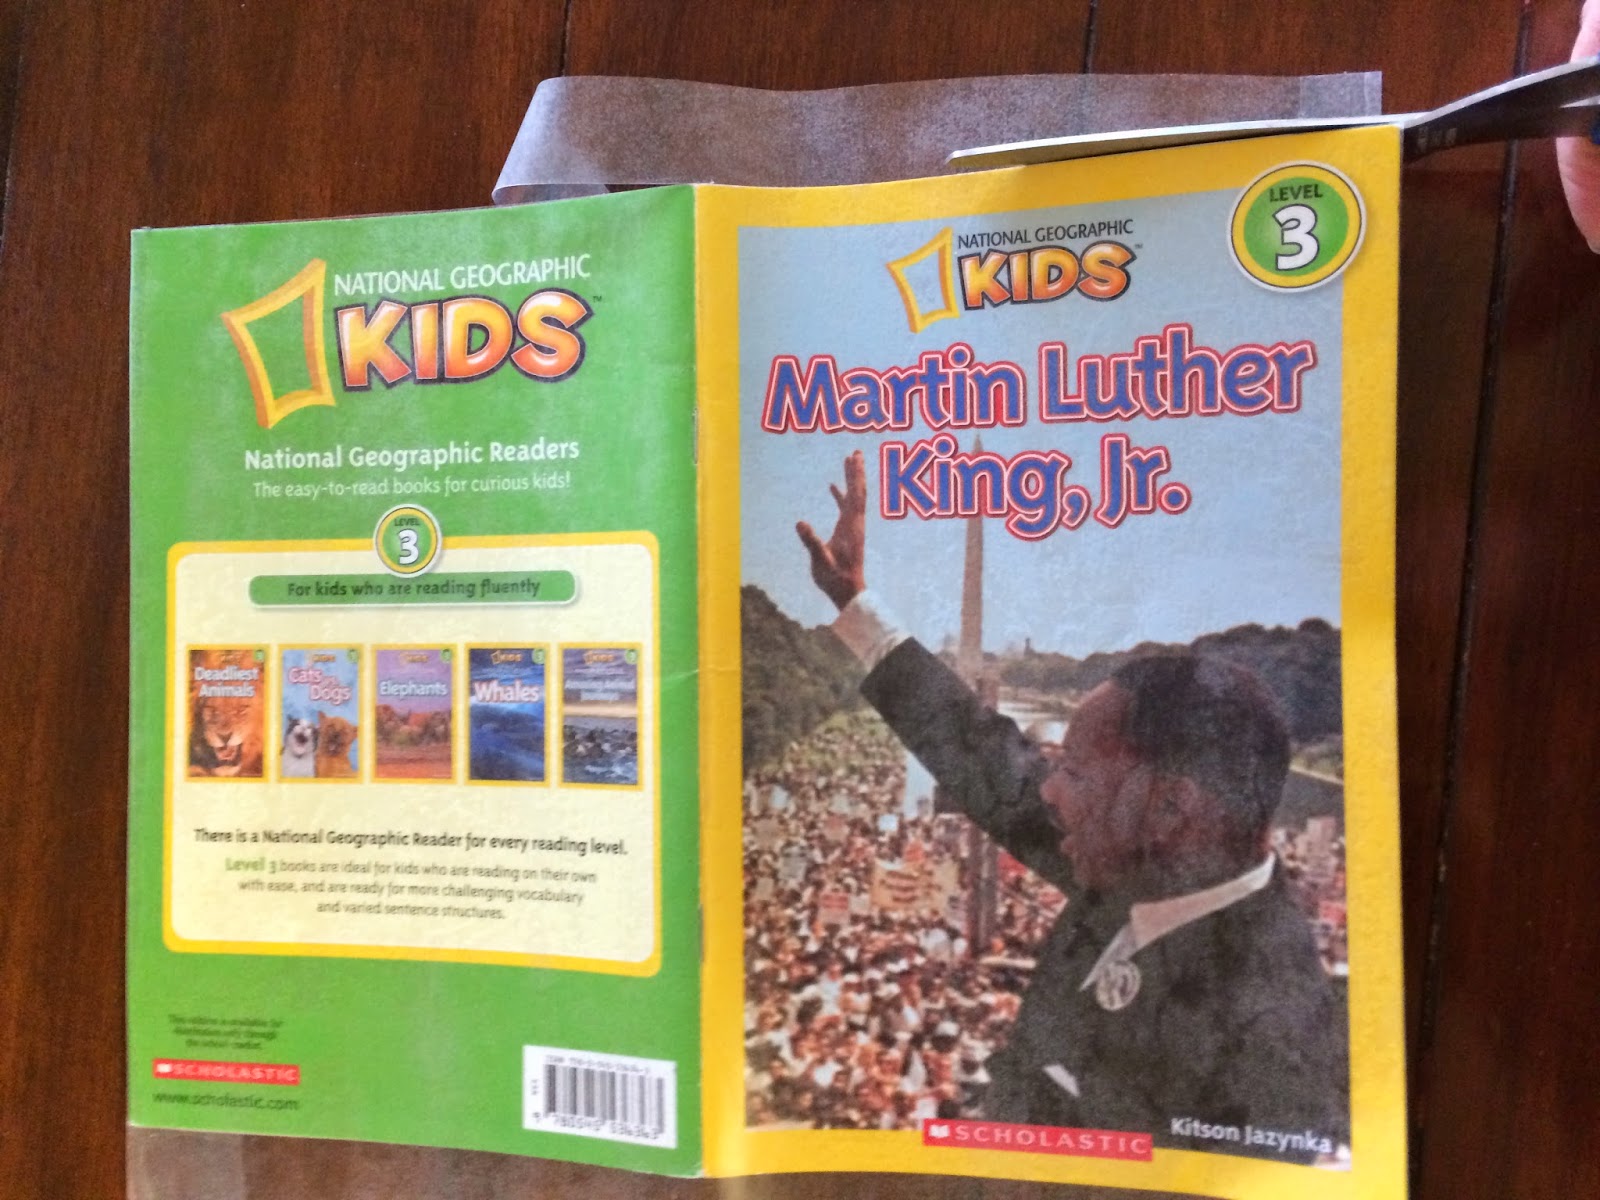
Next, I roll the other side of the book onto the film. I start by turning the book onto its spine then rolling it onto the film instead of just laying it on there. Be sure you don't have the film on there so tightly that you can't close the book. Work out any air bubbles. They won't hurt anything, they just look a little annoying. I fold over one side, starting in the middle, and smooth it out as I go. I also like to fold over this edge instead of cutting it clean because it protects the sides of the books. I used to cut it off, and then had frayed sides. (In case you are wondering, that 630 on the inside cover above is the lexile level. I also lexile all of the books and organize them by lexile level, since my school does Reading Counts. It's so easy to grab a book for a kiddo and go!).
Next, I trim the top and bottom as closely as I can without digging into the book.
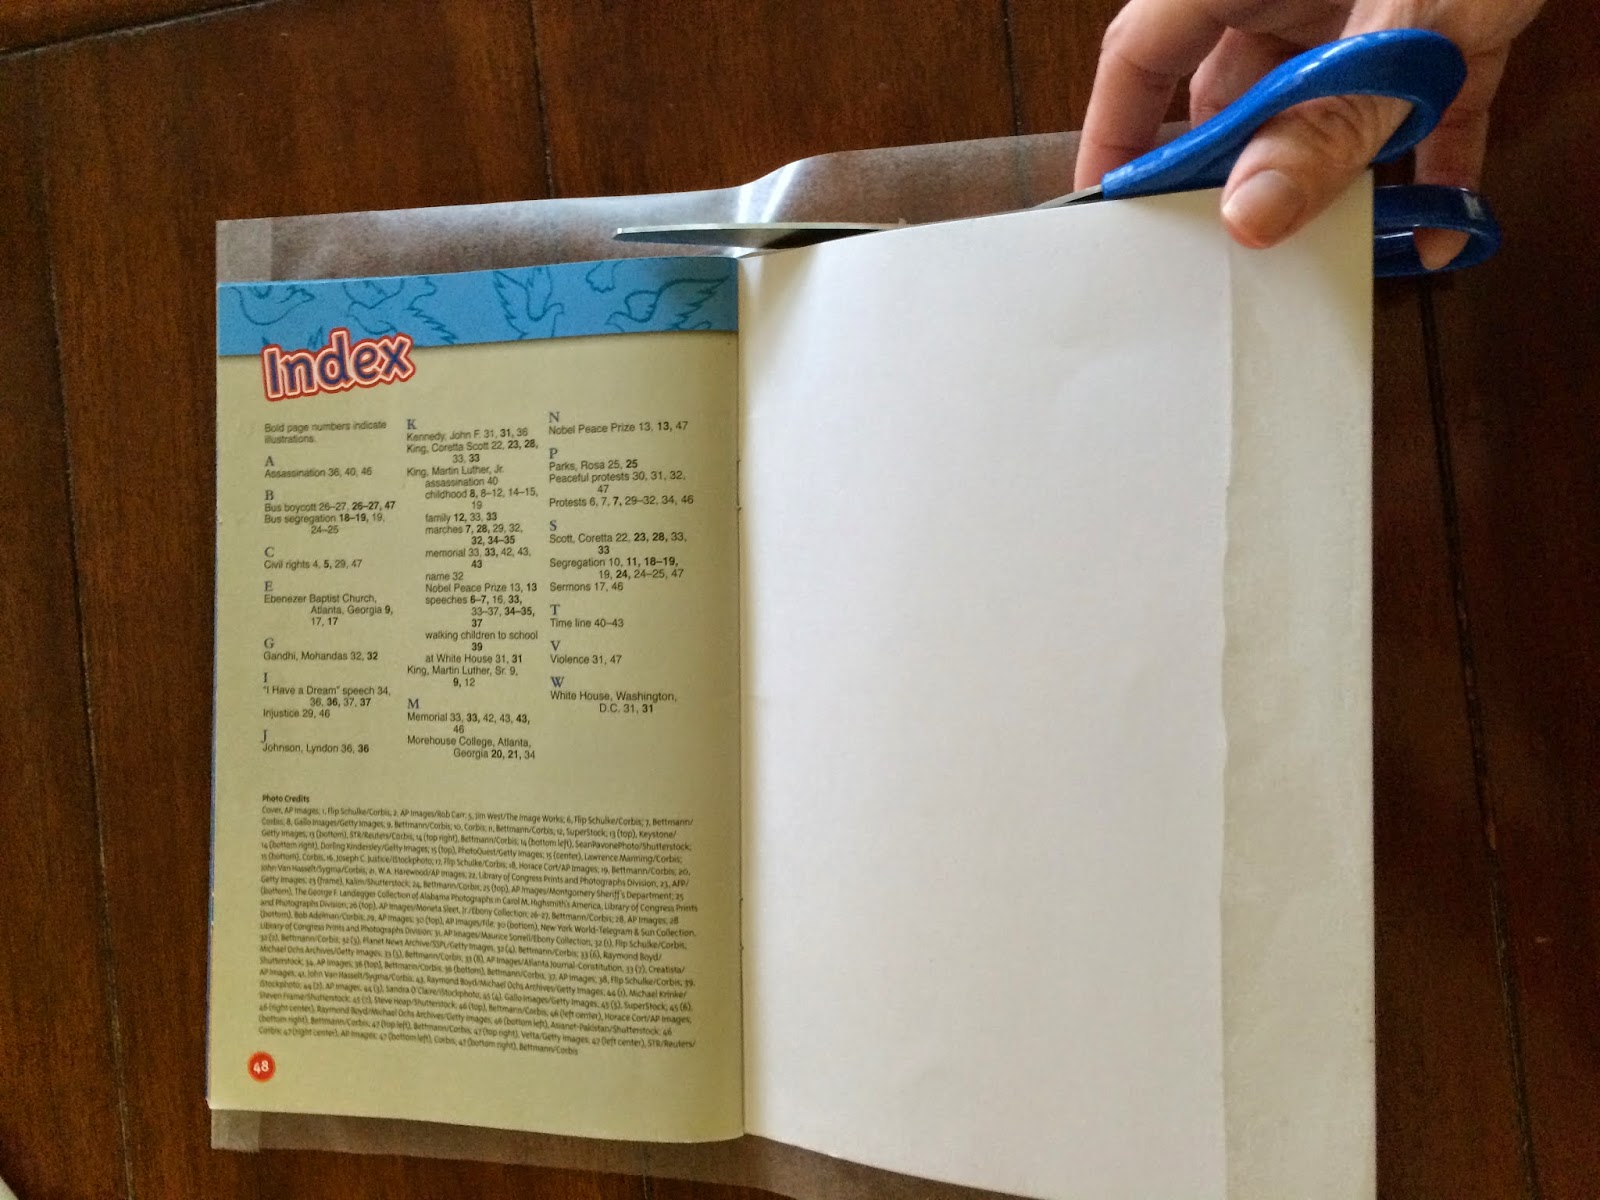
And I turn the book over and do the same thing to the other side. It's easier for me to do it this way, but you might find a technique that works for you. Flip the book over and cut off the bottom excess just like you did on the top.
I see an air bubble on Martin's face. It bothers me in this picture, but I don't even notice it in person.
So that's how I've kept 18 year old books looking (almost) new! I hope this helps. Just practice and you will get the hang of it!
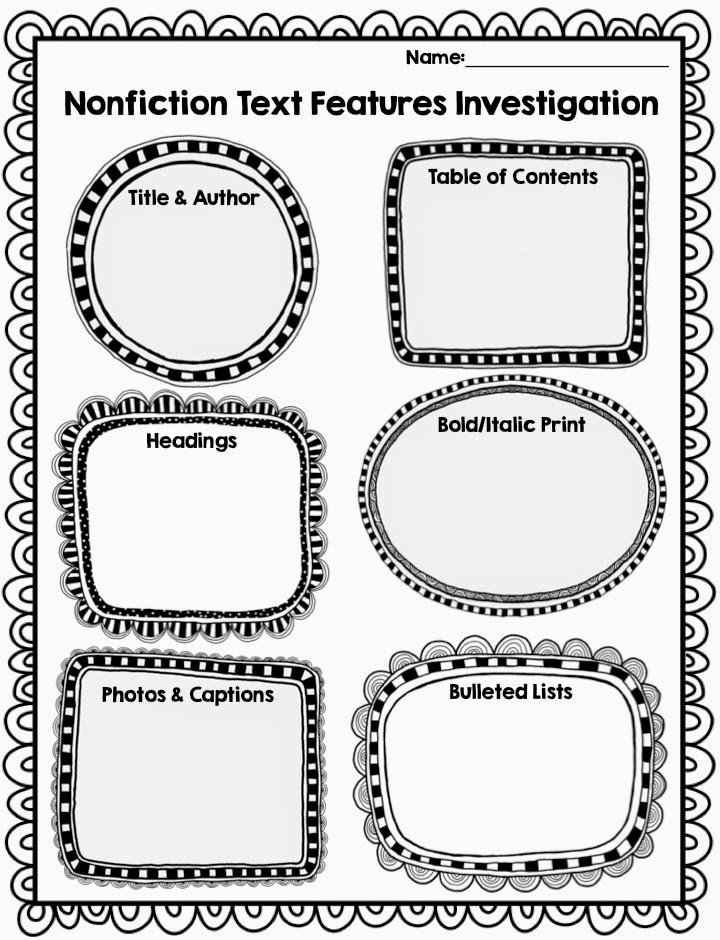
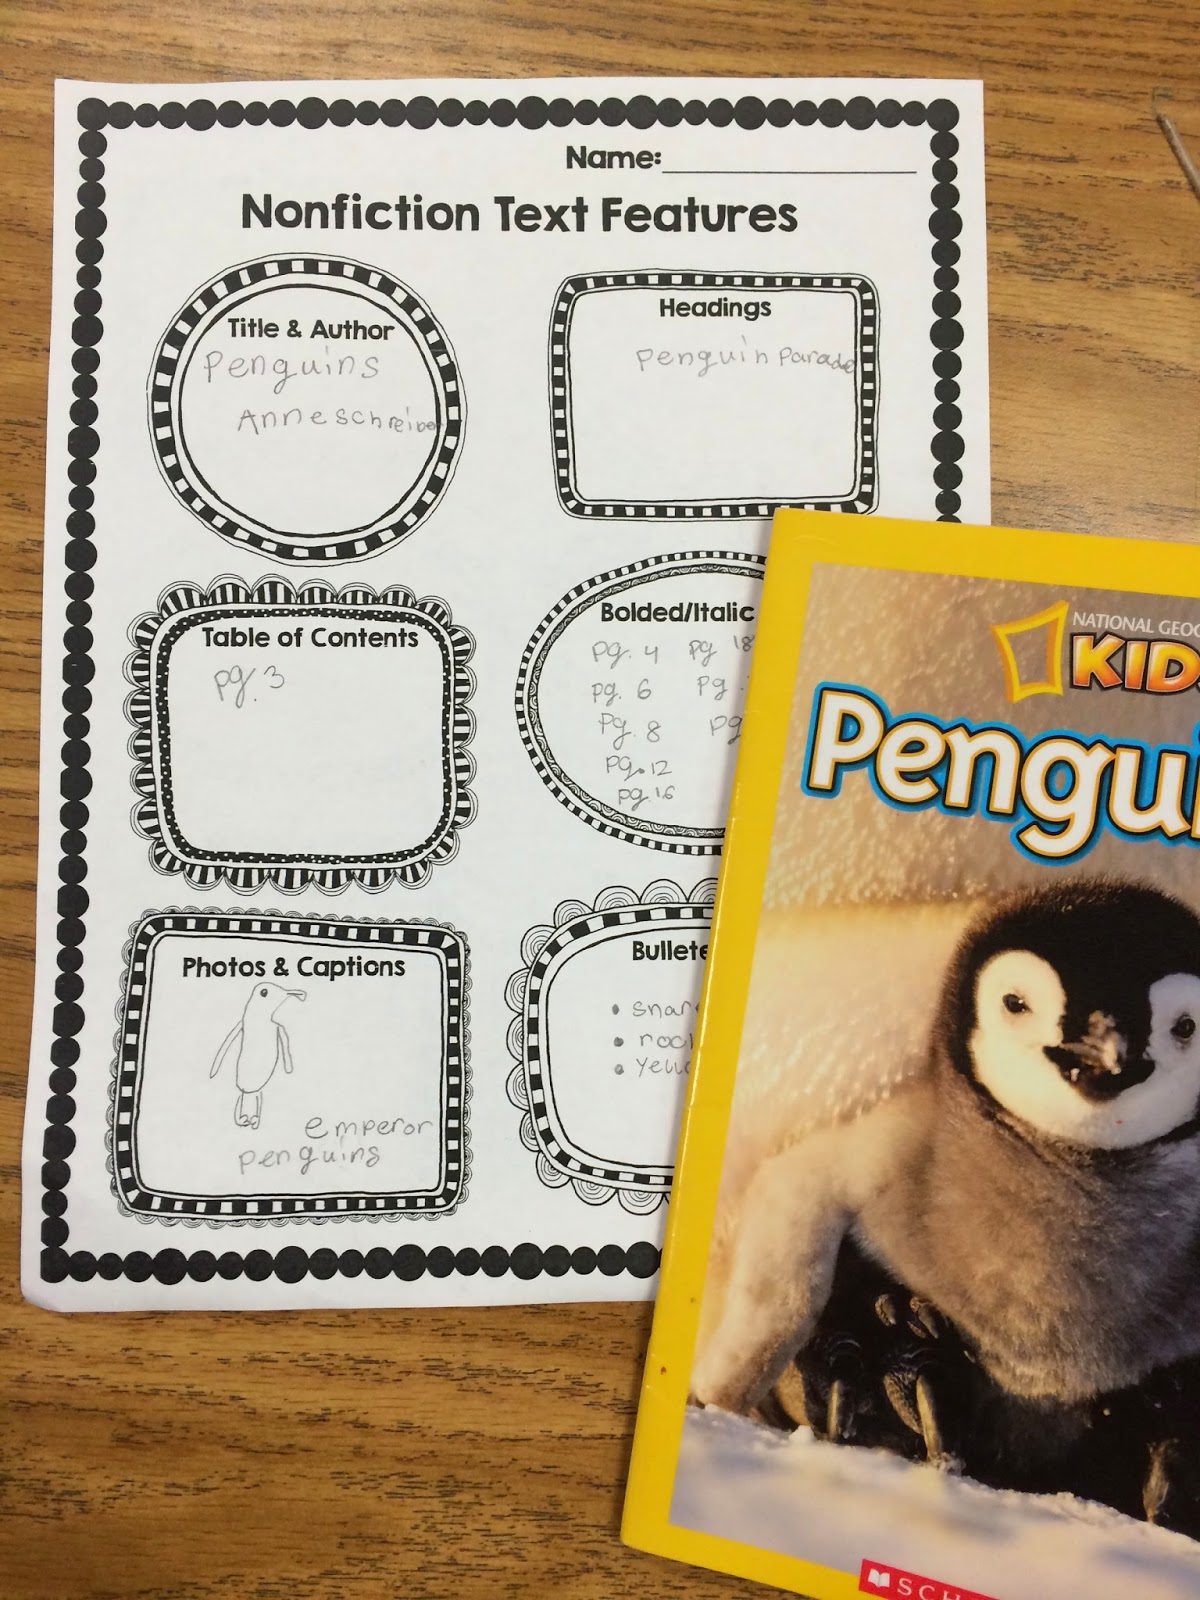
I really love using these books to teach nonfiction text features. I have seen a lot of freebie text feature recording sheets out there. I was having a hard time finding one that went along with these books perfectly, so I made one. If you can use it, you can find it here. (Please let me know if you have a hard time downloading the file from Google Docs. I messed it up the first time I tried loading something on here.) If there is a text feature on the sheet that isn't in the book, I have them create an example of what that text feature would look like, using information from the book. For example, if the Penguins book below didn't have bulleted lists, students could create a bulleted list of the foods penguins eat, as long as that was mentioned in the book. I have also had them write down examples of the actual text features they found in their book. Since this was the first time we did this, I just had them write down page numbers.
I hope this was helpful! Have a great Friday and weekend!


Thanks for sharing this! I finally got around to covering some of my books. They are looking amazing!
ReplyDeleteCarol
Super Sparkly in Second